Farmhouse Style DIY Faux Fireplace Backdrop
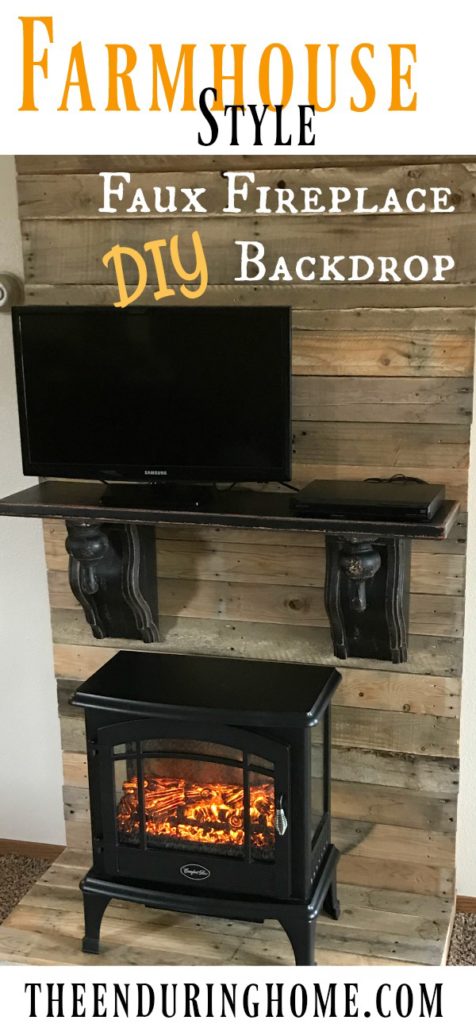
‘Tis the season to get cozy! I’m super excited to share our latest project! My husband built this awesome fireplace backdrop and I love how simple and yet cozy it is…
**This post may contain affiliate links. If you click on those links, I may earn a commission (at no extra cost to you). For more info on our policies, click here. Thank you for being a part of this community and supporting this blog!
Our last home had two wood burning fireplaces. Two!
They were the real deal. When the snow swirled and temperatures dropped, we would cozy up to the fire. It was the best feature of that house.
But now we live in an apartment. A plain, basic, no frills sort of apartment. As in, no fireplace, no cozy, no nothing!
We tried to remedy that by buying a little faux fireplace just so we could look at flames (well, fake flames). We di’t even use the heat on the unit! It looked so tiny and sad sitting in the living room all alone.
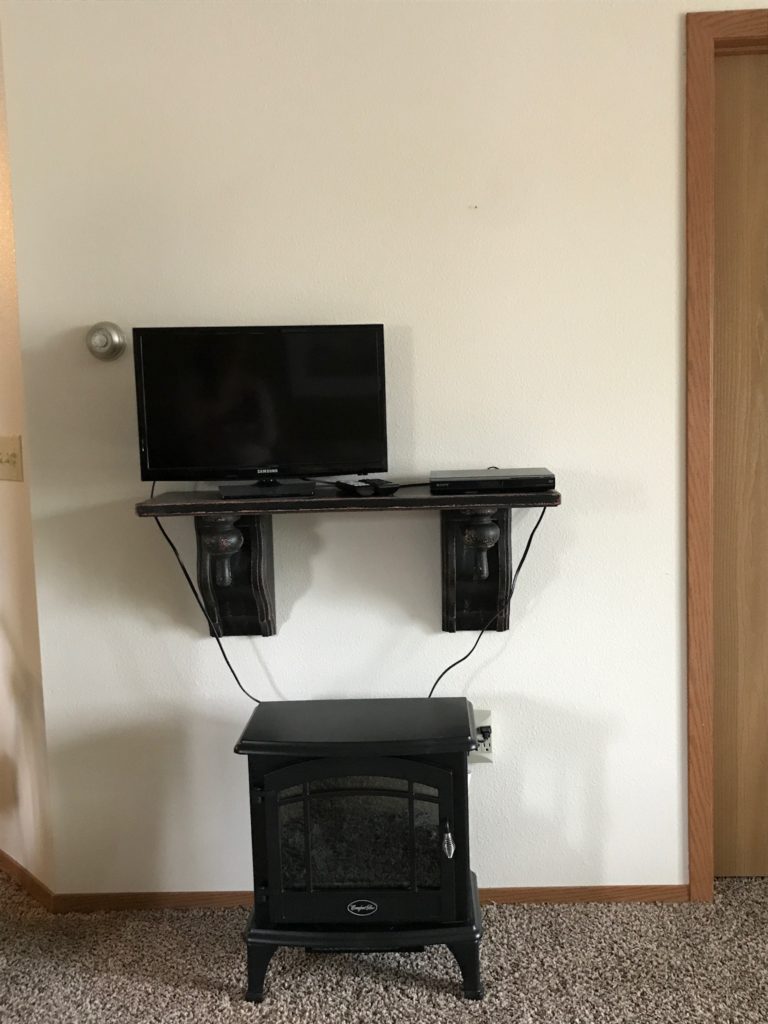
So then, we found an awesome, heavy duty bookshelf (sort of like this one (except black) – we found ours at Hobby Lobby). My hubby hung that above the fireplace to try to create a mantle of sorts.
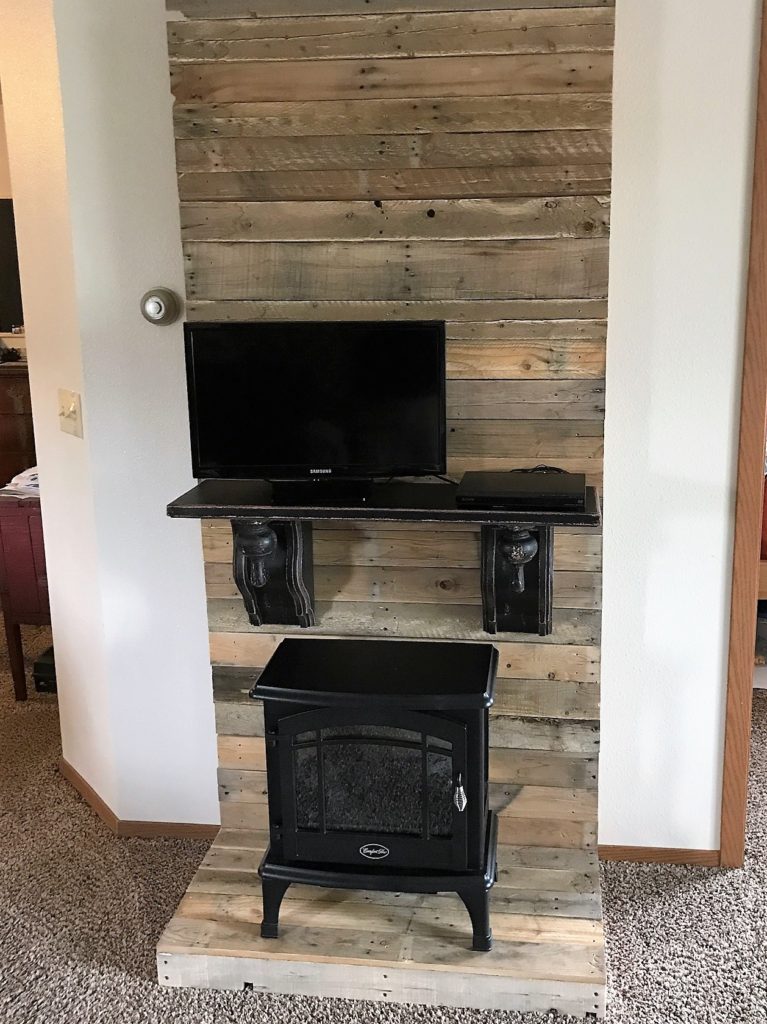
Here’s a pic of that.
Well, it looked better but “hello”, it was still kind of floating in front of a white wall with cords hanging all over the place. It was functional, but not pretty or warm or inviting.
We didn’t know exactly what we wanted, but we knew we wanted it to feel warmer and not so apartment-ish. I searched all over the internet but couldn’t find an example to fit our needs.
So then my husband went and did his DIY awesomeness. That’s where today’s project comes in. He wanted to make something on the cheap, so he decided to make something out of re-purposed wood. A friend gave him three free pallets and he headed to the garage to work some DIY magic.
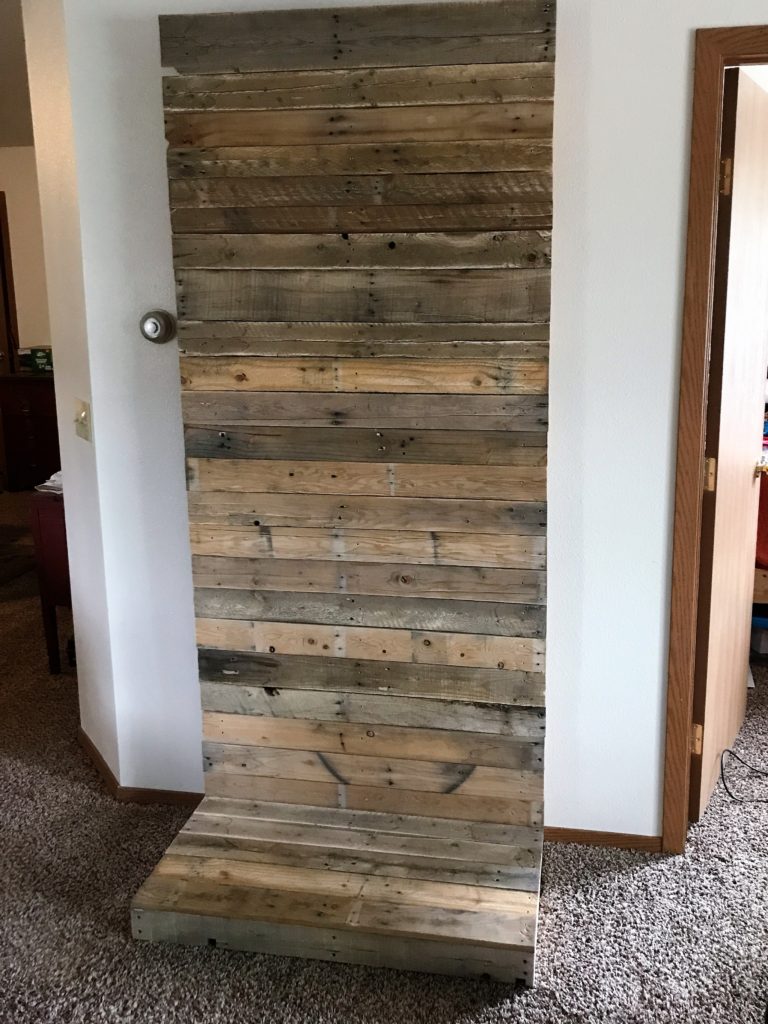
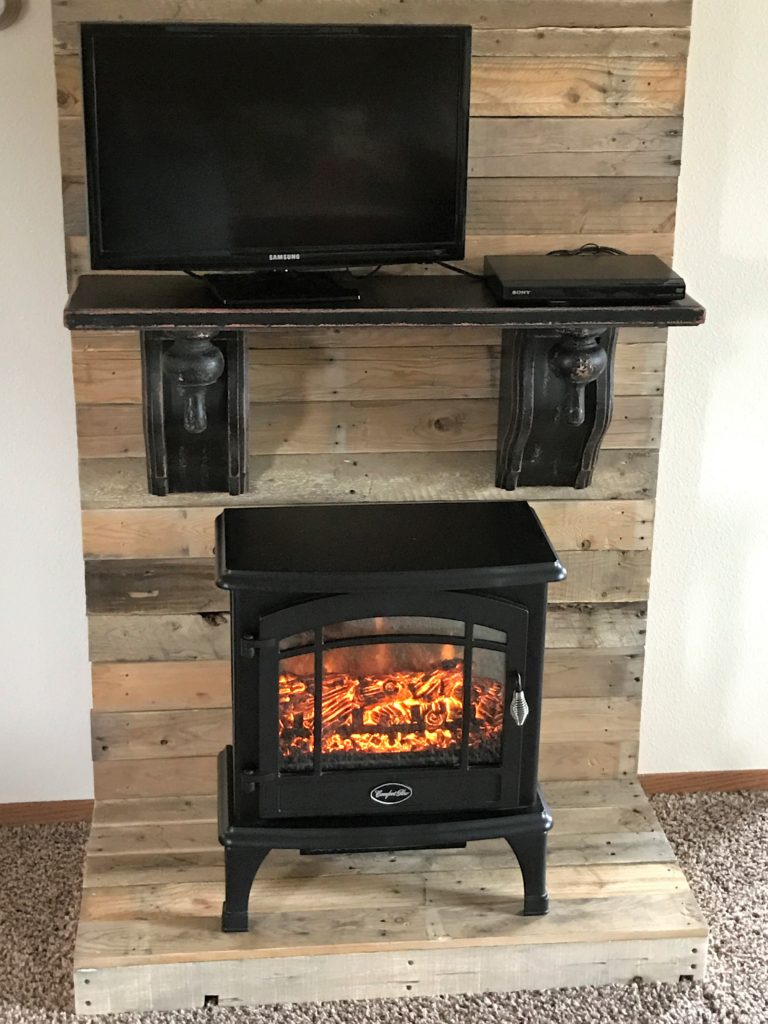
My talented hubby turned those three free pallets into a free-standing focal point/faux fireplace back drop (if you are concerned about safety, you can easily secure it to the wall).
Disclaimer – Always follow your manufacturers warnings etc. Make sure wherever and whatever you place your unit on complies with manufacturer recommendations.
Here are all the details on our
Farmhouse Style DIY Faux Fireplace Backdrop
made out of pallet wood.
>>>>>>>>>>>>>>>>>>>>>>>>>>>>>>>>>>>>>>>>>>>>>>>
Materials
3 2×3″ – 8′
3 standard size pallets (a little grimier, the better 🙂
2 1/2″ Screws
1 1/2″ Finish Screws
So, this project is really a piece of cake.
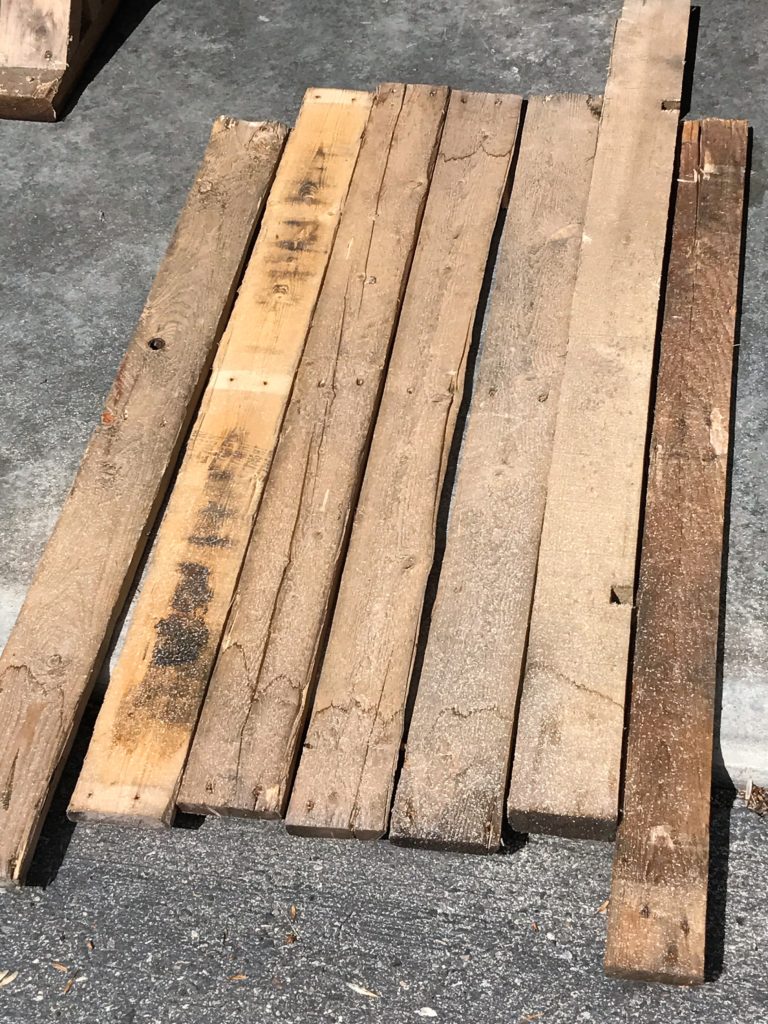
The first step is to take the pallets you’ve acquired and disassemble them thoroughly. By thoroughly, I mean removing each and every nail, individually, being careful not to destroy the pallet boards. Although the point of this project is to have a distressed look, you don’t want to splinter the wood excessively, as it will no longer look “distressed”, but careless.
Once you have removed all of the top and bottom boards of the pallets, and carefully removed and disposed of all the nails (*throw them out as they are probably rusty and no longer usable), organize the boards into those which you would use first and secondary ones. Hopefully you have enough for your project that you see fit to use, or you may need to ‘hide” a less desirable board behind the shelf you apply, or the stove unit you have. Now, it’s time to build the frame.
I happened to have some scrap wood around, and didn’t need to purchase anything. You may want to use different sizes of lumber based on your particular set-up. You may even want to make a different size base, or a higher back…
Go for it! This project is very versatile. I will simply tell you what I did.
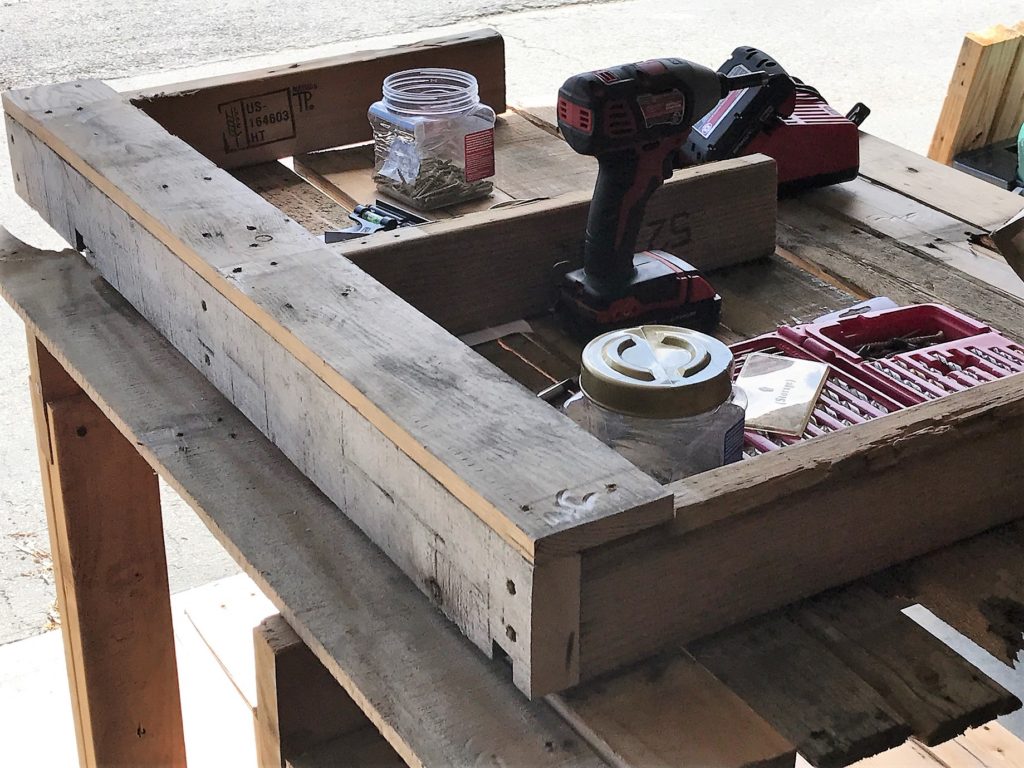
You will need three pieces to frame out the bottom.
First I cut the front piece to the full width of the unit you intend to build.
For this piece, I picked out the coolest looking 2×4 piece from a pallet, as it would be exposed to sight. You want it to have the distressed appearance, like the rest of the unit. Then I trimmed it to 37″.
Next, I took three 2×4’s cut to 19″ and screwed the 37″ piece to the ends of the other 3 pieces. Two of them at flush to the ends, and the third piece in the center of the front-piece. I used 2 1/2″ screws.
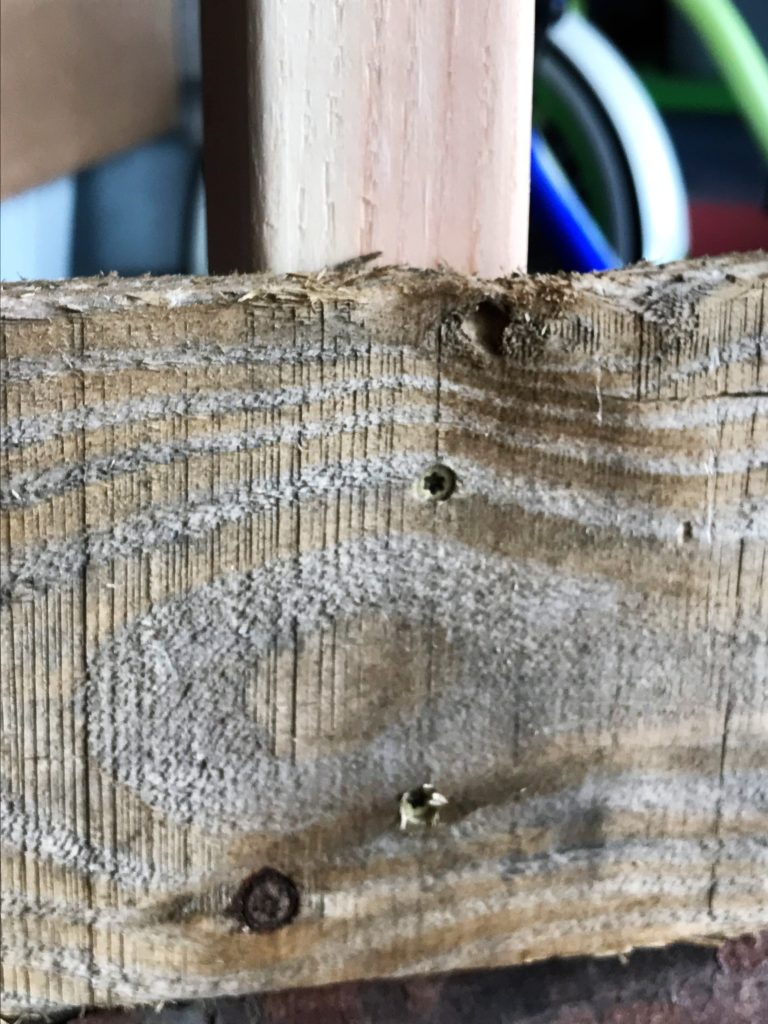
Yes, this leaves little screw holes, but on a project like this, their appearance actually enhances the feel of it. There are new styles of deck screw available which have specially designed heads to hide themselves below the surface of the wood when sunk to an appropriate depth. These are a great choice if you are concerned about the visibility of the screw-heads.
Once you have the bottom frame assembled, it’s time to work on the back of the faux fireplace.
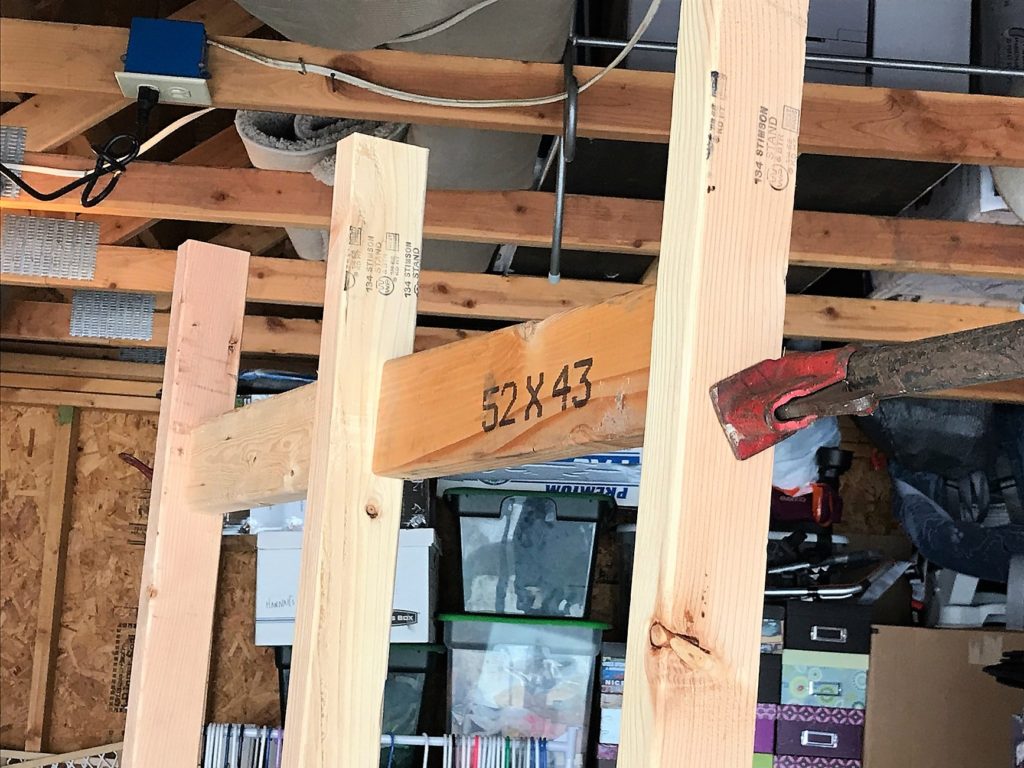
I cut three 2×3’s to a length of 7′. (Just a quick word on “2×3’s.” Where I live, these are available at The Home Depot, but I have not seen them elsewhere. They are a great alternative for 2×4’s on a project like this. They are plenty strong, but don’t have the bulkiness of a common stud. I’ve used them on other projects, and have really come to appreciate them. If you can find them, I highly recommend them!)
Then, I attached the 7′ boards to the bottom frame piece ends at 90 degree angles with 2 1/2″screws and put 2 at each joint.
Once you’ve connected the bottom frame to the back frame pieces, you may choose to put a top plate across the 3 upright pieces. I did not do this personally, as I figured the pallet piece on the front would hold the unit rigid, but it definitely won’t hurt anything. Just make sure that your unit is sturdy for your needs.
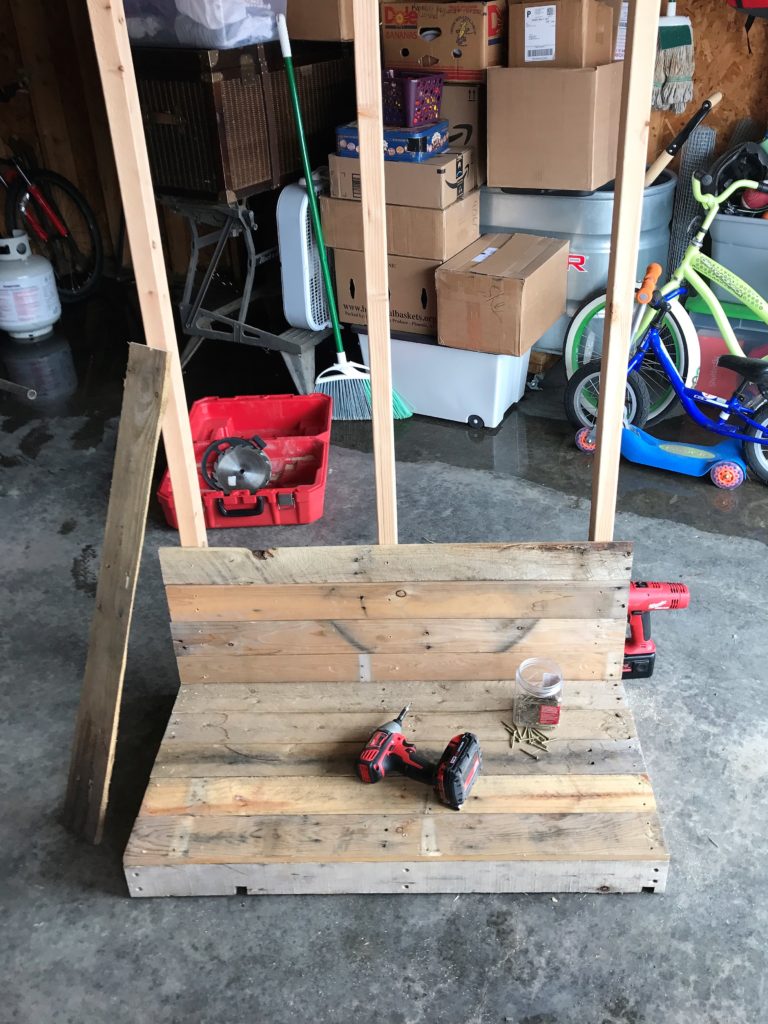
At this point, you should have a large “L-shaped” piece joined at the back. It is now time to trim you decorative pallet pieces for the bottom and front of the unit. Mine happened to be 37″; so I didn’t need to trim. You could of splice at the middle stud at the back if you are coming up with short pieces, but I did not need to do so.
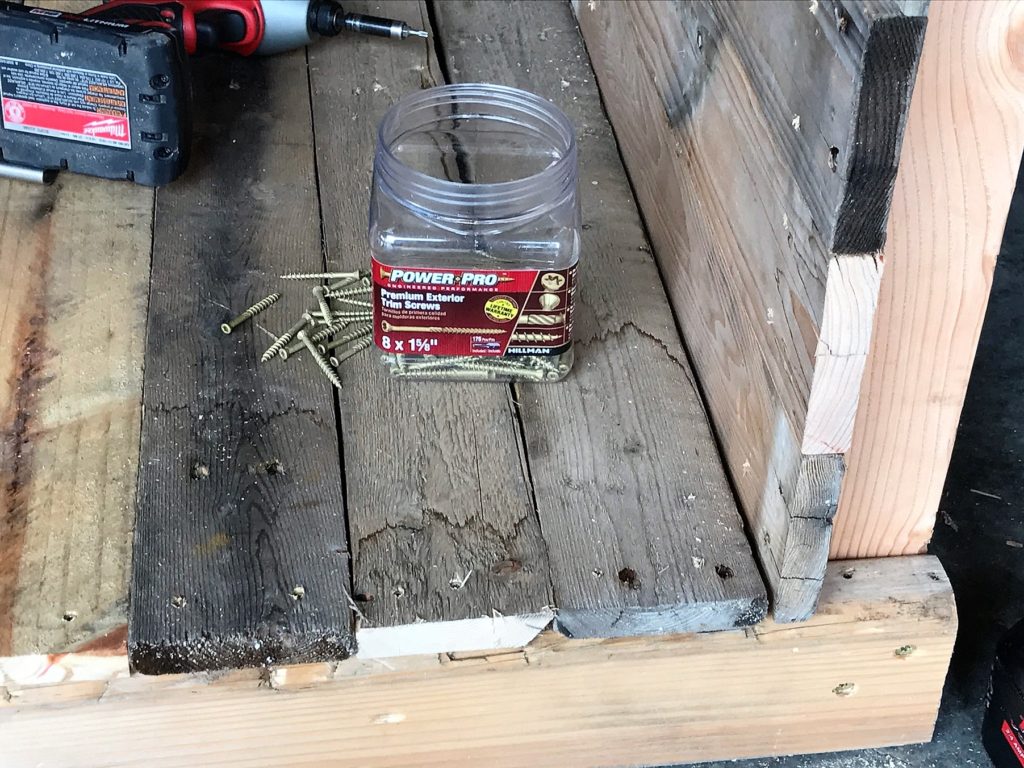
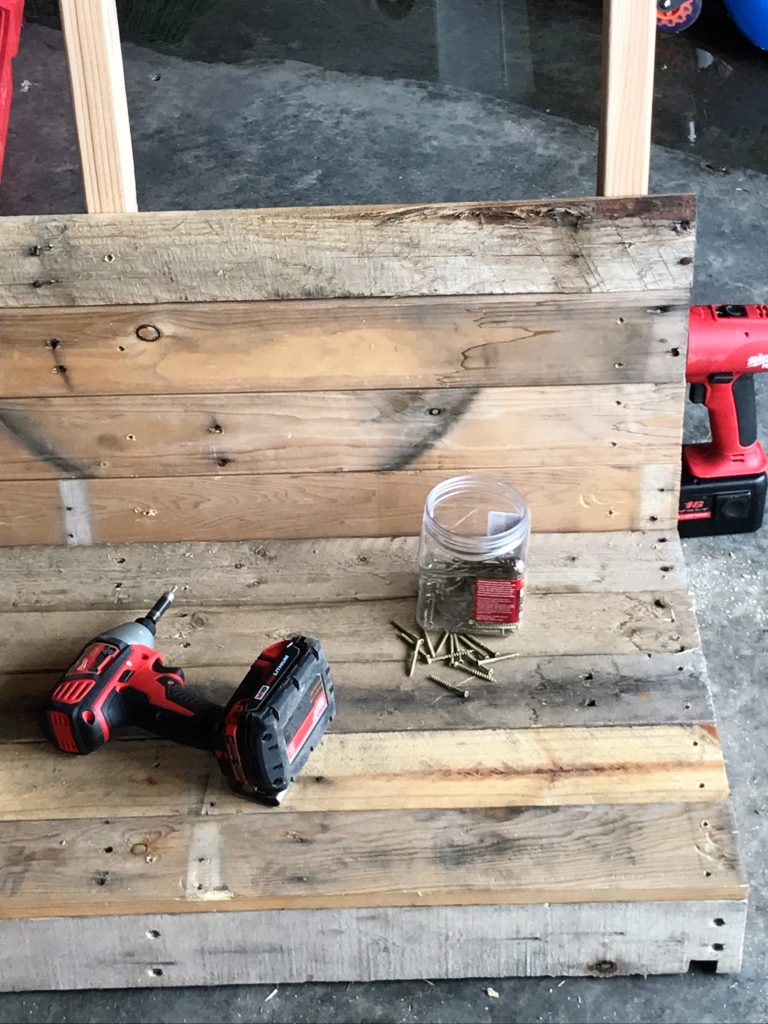
To begin applying the pallet pieces, I first put the bottom of the upright section in. I thought by applying this first, and then tucking the next piece on the bottom tight to it, it would reinforce that joint on the frame. To apply the pallet boards, I used 1 1/2″ finish screws with a tan paint color on them. Brass color would work also; I simply did this to blend the wood. I used at least 1 screw at each upright on the back. At times, I put 2 in. screws in, as the boards were warped a bit and I wanted to pull them flat. Do whatever is appropriate to your circumstances.
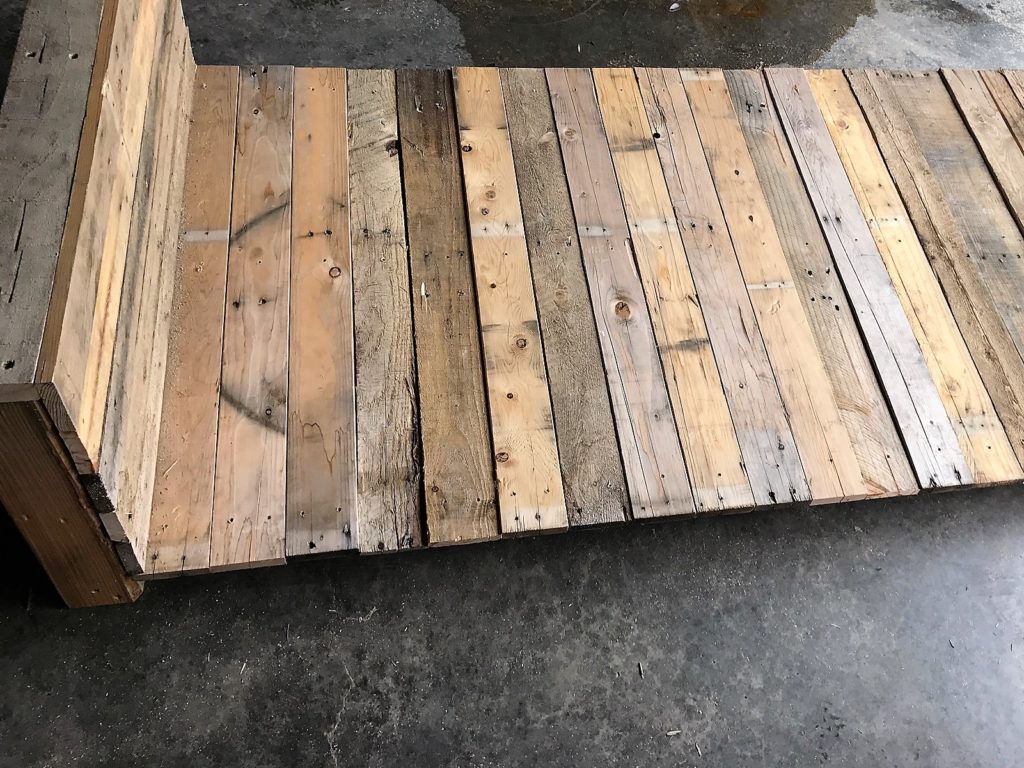
Once the first piece was on the back, I completed the bottom part, that sits parallel to the floor. Lucky enough, I didn’t need to trim any boards. It simply came out perfect! But you may very well need to do so, or simply leave small gaps as you are filling out the bottom to end up flush with the front. A little hint; lay your boards out first without screwing them down, and make adjustments as necessary!
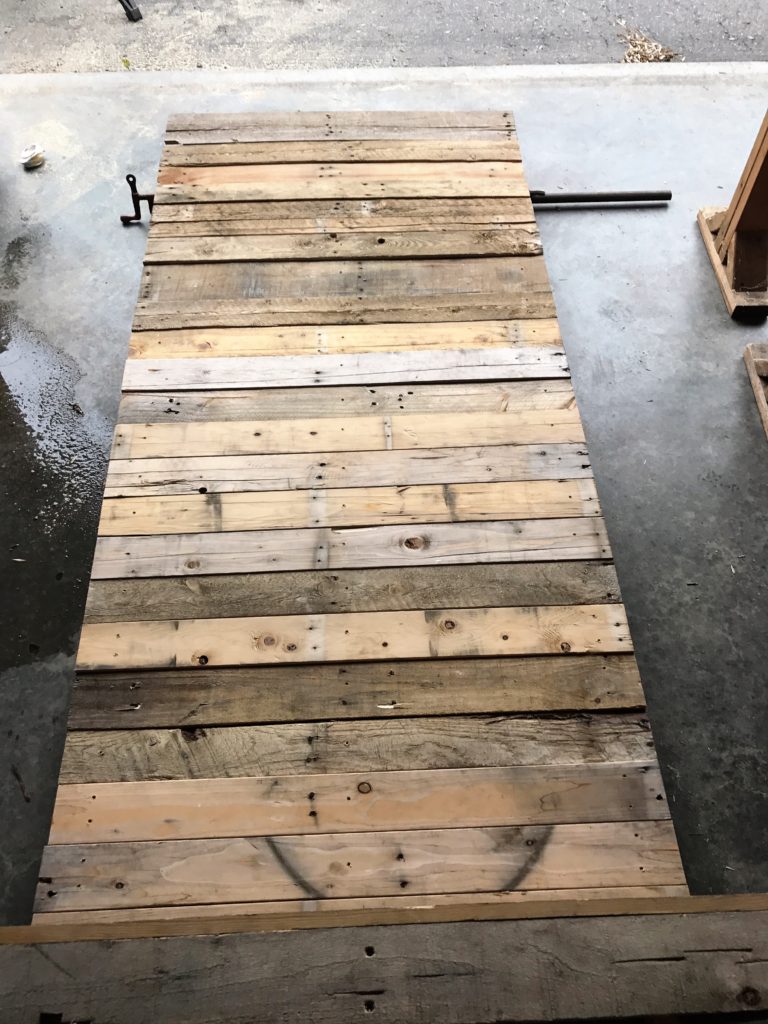
When the bottom is finished, then simply finish running the pallet boards up the back in the same manner. Again, checking to see how they will come out in the end. I left my final piece overhang the top by about an inch. That way, you don’t see the framing behind it at all.
That’s it! A simple project; it took me about 2 hours!
Other things to consider, depending on what you are going to do with this piece. I hung a decorative shelf on it, as you can see in the photo. I also drilled holes where appropriate to run the stove cord out the back, as well as the TV and DVD cords. They aren’t visible at all, which was one of the motivations for this project.
How fantastic is that?!
It totally fixed the floating on a white wall thing, gave us an awesome focal point and totally warmed up the room!
We love this little addition to our apartment. It reminds us of goals we have for the future, (as apartment dwelling is not one of them), and adds a little warmth to the cold winter nights we have!


Leave a Reply